
Introduction
Every 15 months or so, I rewrite my website in a new tech stack. My first one was in pure html, then react, then astro, and then it was an actix server (I have no idea why I thought this was a good idea), and very recently, my friend just one-shotted it into a static site with a claude generated script because he was tired of hosting my website.
So now, it is finally time to rewrite my website with a proper ssg, made by yours truly. This devlog will recount my process of converting my abhorrent rust vibe code slop to pristine and pure memory unsafe zig codebase. By the time this series is removed from draft this website will be entirely generated by my static site generator.
Since it was my first zig project after a long long time, I decided to start with a smaller part of a project, for example
Opengraph Images
My first very primitive approach to making an opengraph image was to have a string buffer, write an svg directly into it, and convert it to a png using imagemagick, since it only accepts png. This seemed very intuitive and I thought that svgs would not be that hard to build, since they have a fairy simple and straightforward syntax. Not to mention its easy to apply filters as well.
1var buf = try Buffer.init(allocator, 100);
2
3const svg =
4    \\<svg width="300" height="170" xmlns="http://www.w3.org/2000/svg">
5    \\ <rect width="150" height="150" x="10" y="10" rx="20" ry="20" style="fill:red;stroke:black;stroke-width:5;opacity:0.5" />
6    \\</svg>
7;
8try buf.write(svg);
And for very simple images like this... it actually worked. Using MagickWand (adorable name), it gave us a function to write it to a png. After some screwing around, I implemneted linear-gradients
01const xy: [4]u32 = switch (direction) {
02    .LeftToRight => .{ 0, 0, 100, 0 },
03    .RightToLeft => .{ 100, 0, 0, 0 },
04    .TopToBottom => .{ 0, 0, 0, 100 },
05    .BottomToTop => .{ 0, 100, 0, 0 },
06};
07
08var buf: [256]u8 = undefined;
09const s = try std.fmt.bufPrint(&buf, "<linearGradient id=\"background\" x1=\"{d}%\" y1=\"{d}%\" x2=\"{d}%\" y2=\"{d}%\">", .{ xy[0], xy[1], xy[2], xy[3] });
10try self.defs_buf.write(s);
11
12try self.defs_buf.write("<stop offset=\"0%\" stop-color=\"#77b6ed\" />");
13try self.defs_buf.write("<stop offset=\"100%\" stop-color=\"#8be8a7\" />");
14
15try self.defs_buf.write("</linearGradient>");
which resulted in images like

Issues started to occur, when I tried to embed images inside the svgs, the images worked fine when I loaded them in the browser, but it just did not work when I converted them with magickwand. It turned out to be an issue with imagemagick itself and it not supporting the correct svg libraries.
My next approach was to use rsvg to make the svg, but it cannot alone convert the svg. And the only way I could get around with it was to render the image on the cairo surface and save the surface to the png, but it also did not work.
At this point I was already using cairo as a dependency, so I just decided to drop rsvg completely and go all in on cairo. cairo is certainly verbose and there are a lot of lines to render a background image (I will refrain from posting snippets in this blog), but it worked flawlessly for saving pngs. And I also wrote this simple overlay function to create an overlay over an image to darken it.
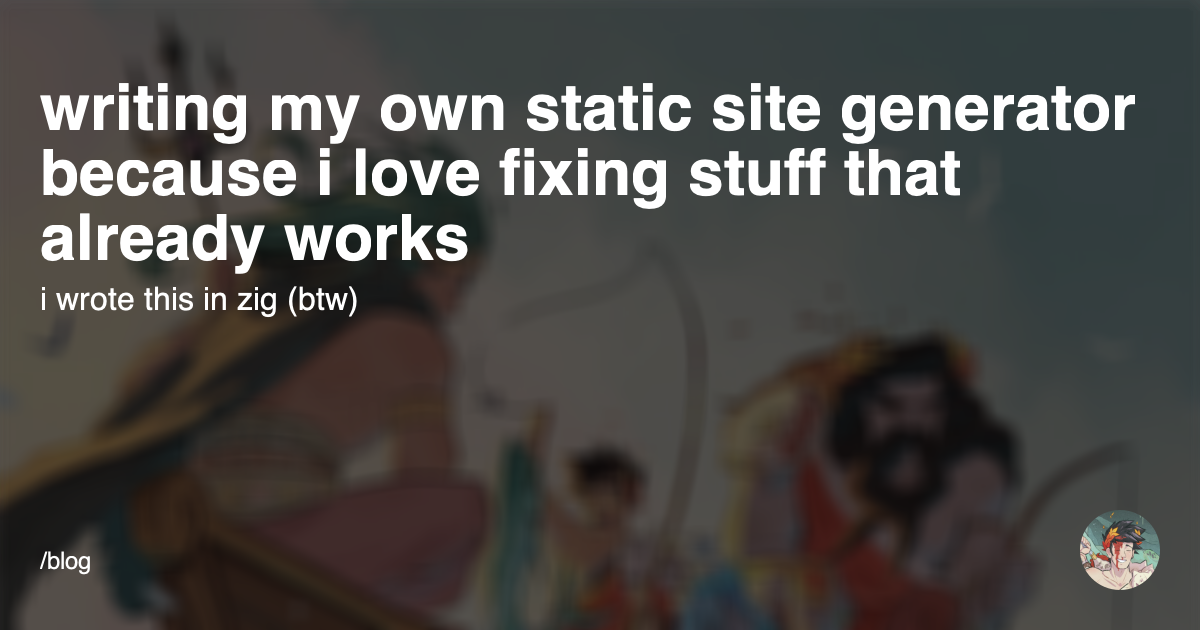
This was also the point where I was thinking about how would I structure this module's api. I always find an ease of use in fluent interfaces // chainable apis, (eg. ElysiaJS) and wanted something similar so I could do somethign akin to
1try Opengraph.init()
2    .background_image("image.png")
3    .overlay("#00000066")
4    .save_as("out.png");
to give us something like
Blurring
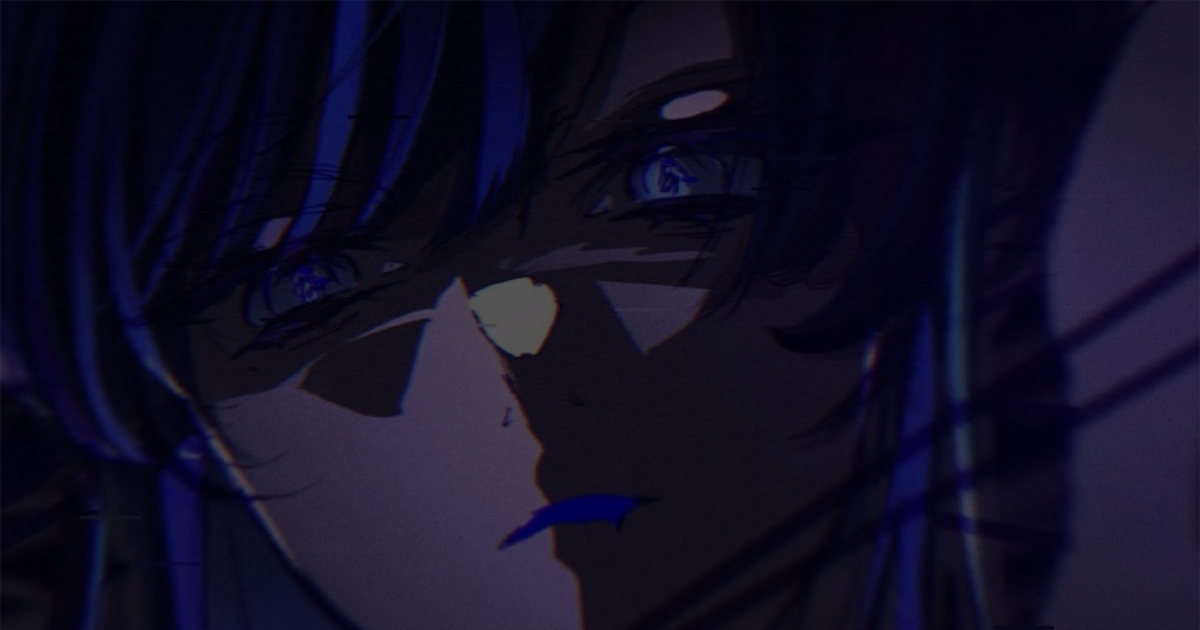
To make the text on the image clearer, I implemented a basic box blur (sorry Gauss fans). Unlike Gaussian, every pixel in the window counts equally, and you average the pixels in the window. The size of the window is based on the radius we pass in:
01const window = @as(u32, radius) * 2 + 1;
02
03var i: i32 = -@as(i32, radius);
04while (i <= radius) : (i += 1) {
05    const xx: usize = @intCast(std.math.clamp(
06        @as(i32, @intCast(x)) + i,
07        0,
08        WIDTH - 1,
09    ));
10    const p = row[xx];
11    // ....
12}
We do two passes of blurring, the horizontal pass (look left and right of each pixel, out to radius pixels away, and then average) and a vertical pass, which is the exact same thing, but up and down. Once we get a 32-bit pixel p, we extract the argb values out of it, average them out and set them in the blur_buffer.
1a += (p >> 24) & 0xff;
2r += (p >> 16) & 0xff;
3g += (p >> 8) & 0xff;
4b += p & 0xff;
5
6blur_buffer[y * WIDTH + x] = ((a / window) << 24) | ((r / window) << 16) | ((g / window) << 8) |(b / window);
If I had to make it Gaussian blur, I had to add weights to the neighbours in the windows to make it look more smooth, but for now, I am more of less happy with this result.

Dithering
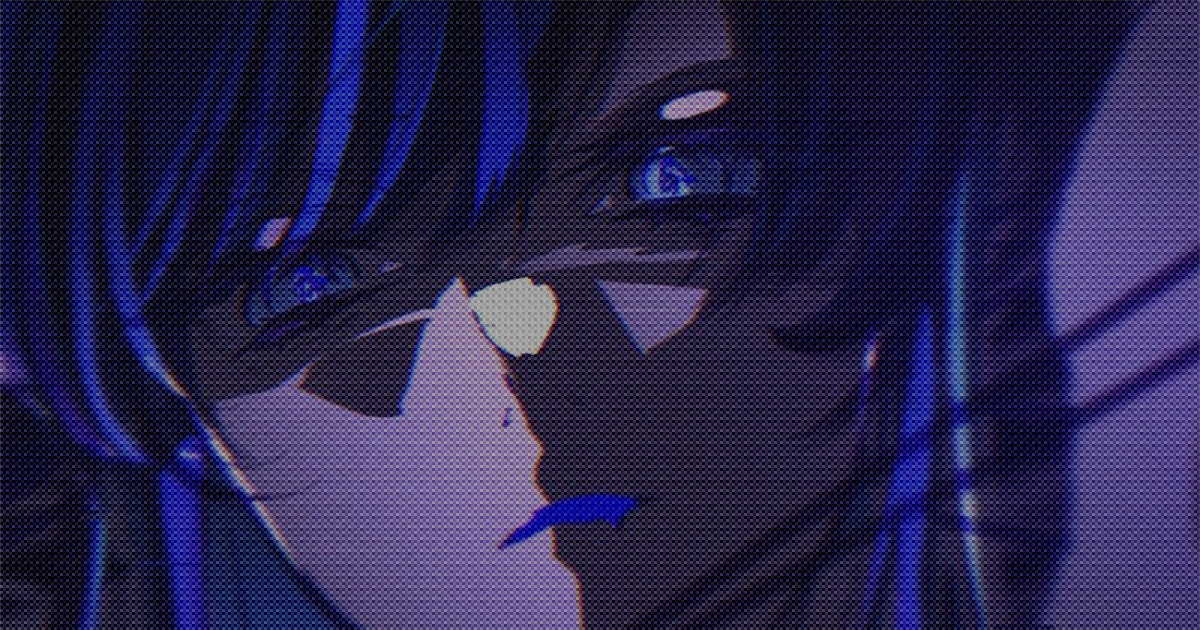
Dithering is infact, a bit simpler to implement than blurring, we start by having a 4x4 matrix
1const bayer4x4 = [4][4]u8{
2    .{ 0, 8, 2, 10 },
3    .{ 12, 4, 14, 6 },
4    .{ 3, 11, 1, 9 },
5    .{ 15, 7, 13, 5 },
6};
And then we set the threshold of each pixel and offset using -
1const threshold = bayer4x4[(y / dot_size) % 4][(x / dot_size) % 4];
2const offset: i32 = @divTrunc((@as(i32, threshold) - 7) * @as(i32, strength), 2);
This makes some pixels get a positive nudge (brighter), some get a negative nudge (darker), depending on where they fall on in the stencil (4x4 matrix), which we can add back to the rgb values
1r = std.math.clamp(r + offset, 0, 255);
2g = std.math.clamp(g + offset, 0, 255);
3b = std.math.clamp(b + offset, 0, 255);
This results in something like this
Text
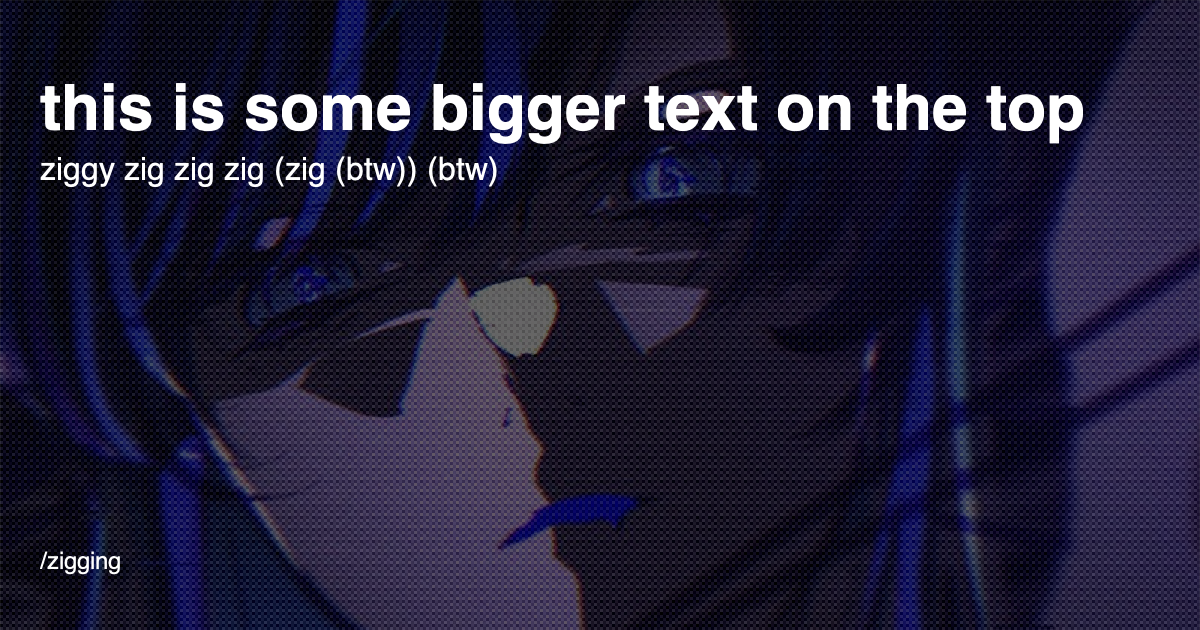
I initially thought that I had to implement some complex text-wrapping mechanism for this but my job was made 100x easier after discovering pangocairo, which is a part of Pango, a library for laying out and rendering text. All I had to do was set font, text, width, wrap mode and the library did the work for me.
1c.pango_layout_set_font_description(layout, font_desc);
2c.pango_layout_set_text(layout, text.ptr, @intCast(text.len));
3c.pango_layout_set_width(layout, (WIDTH - 80) * c.PANGO_SCALE);
4c.pango_layout_set_wrap(layout, c.PANGO_WRAP_WORD_CHAR);
5
6c.cairo_move_to(self.cr, x, y);
7c.pango_cairo_show_layout(self.cr, layout);
For loading the font, I had to use another library called fontconfig.
1_ = c.FcConfigAppFontAddFile(c.FcConfigGetCurrent(), "static/_priv/geist.ttf");
2const font_desc = c.pango_font_description_from_string("Geist Bold 48").?;
3defer c.pango_font_description_free(font_desc);
Now we can position texts and create images like:
Other Utilities
- I took this example straight from cairo samples to render a small pfp at bottom right.
- Then I also made a function to make a render a grid, which just draws lines horizontally and vertically at a distance.
01while (x <= WIDTH) : (x += grid_size) {
02  c.cairo_move_to(self.cr, x, 0);
03    c.cairo_line_to(self.cr, x, HEIGHT);
04}
05
06var y: f64 = 0;
07while (y <= HEIGHT) : (y += grid_size) {
08  c.cairo_move_to(self.cr, 0, y);
09  c.cairo_line_to(self.cr, WIDTH, y);
10}
11
12c.cairo_stroke(self.cr);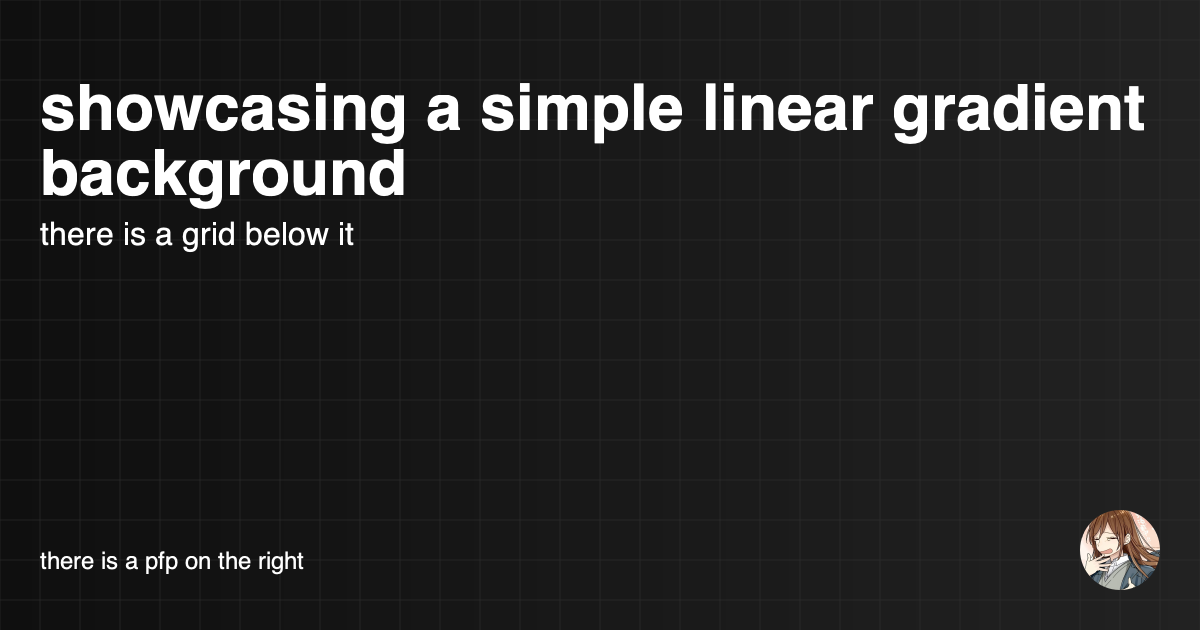
And this is how it looks from my api:
01const simple = try OpenGraph
02    .init()
03    .bg_linear_gradient("#0f0f0fff", "#222222ff", .LeftToRight)
04    .grid(40.0, 0.5, "#323232ff")
05    .title("showcasing a simple linear gradient background", "#ffffffff")
06    .subtitle("there is a grid below it", "#ffffffff")
07    .bottom("there is a pfp on the right", "#ffffffff")
08    .pfp("static/images/temp.png")
09    .save("simple.png");
10defer simple.deinit();
Puting It All Together
Now we can create stuff like
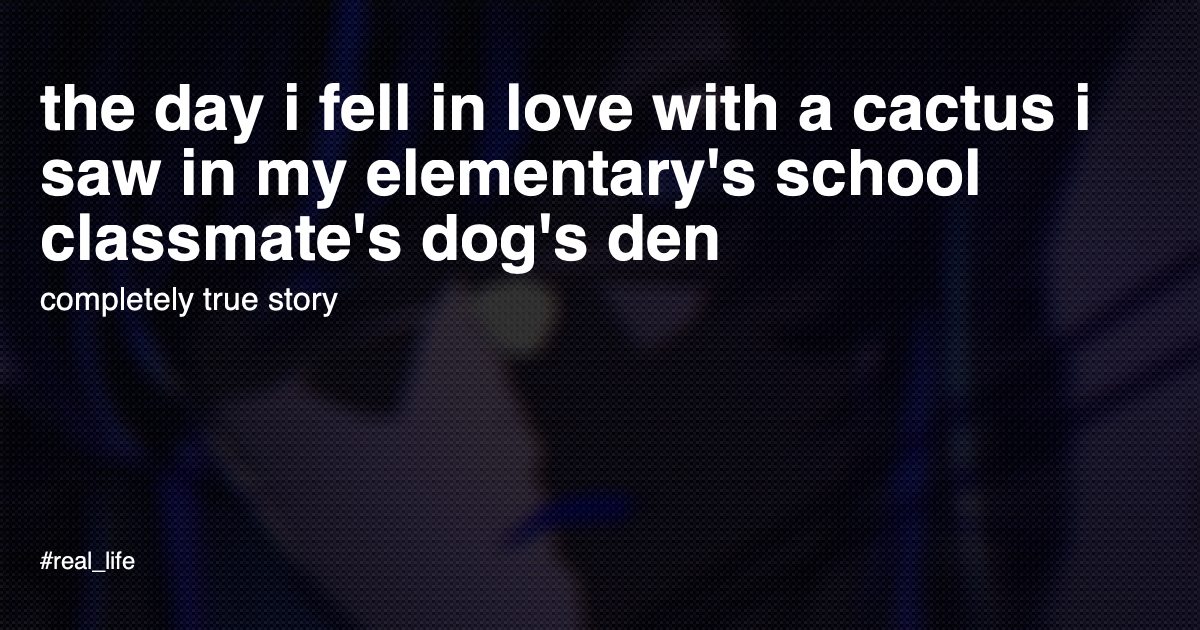
The code equivalent:
01const x = try OpenGraph.init()
02    .bg_image("bg2.png")
03    .blur(12)
04    .dither(32)
05    .overlay("#000000cc")
06    .title("the day i fell in love with a cactus i saw in my elementary's school classmate's dog's den", "#ffffffff")
07    .subtitle("completely true story", "#ffffffff")
08    .bottom("#real_life", "#ffffffff")
09    .save("outter.png");
10defer x.deinit();
Join me back in the part 2 of this blog where I implement a templating library from scratch because this fuckass language still does not have a good templating language even after a decade.